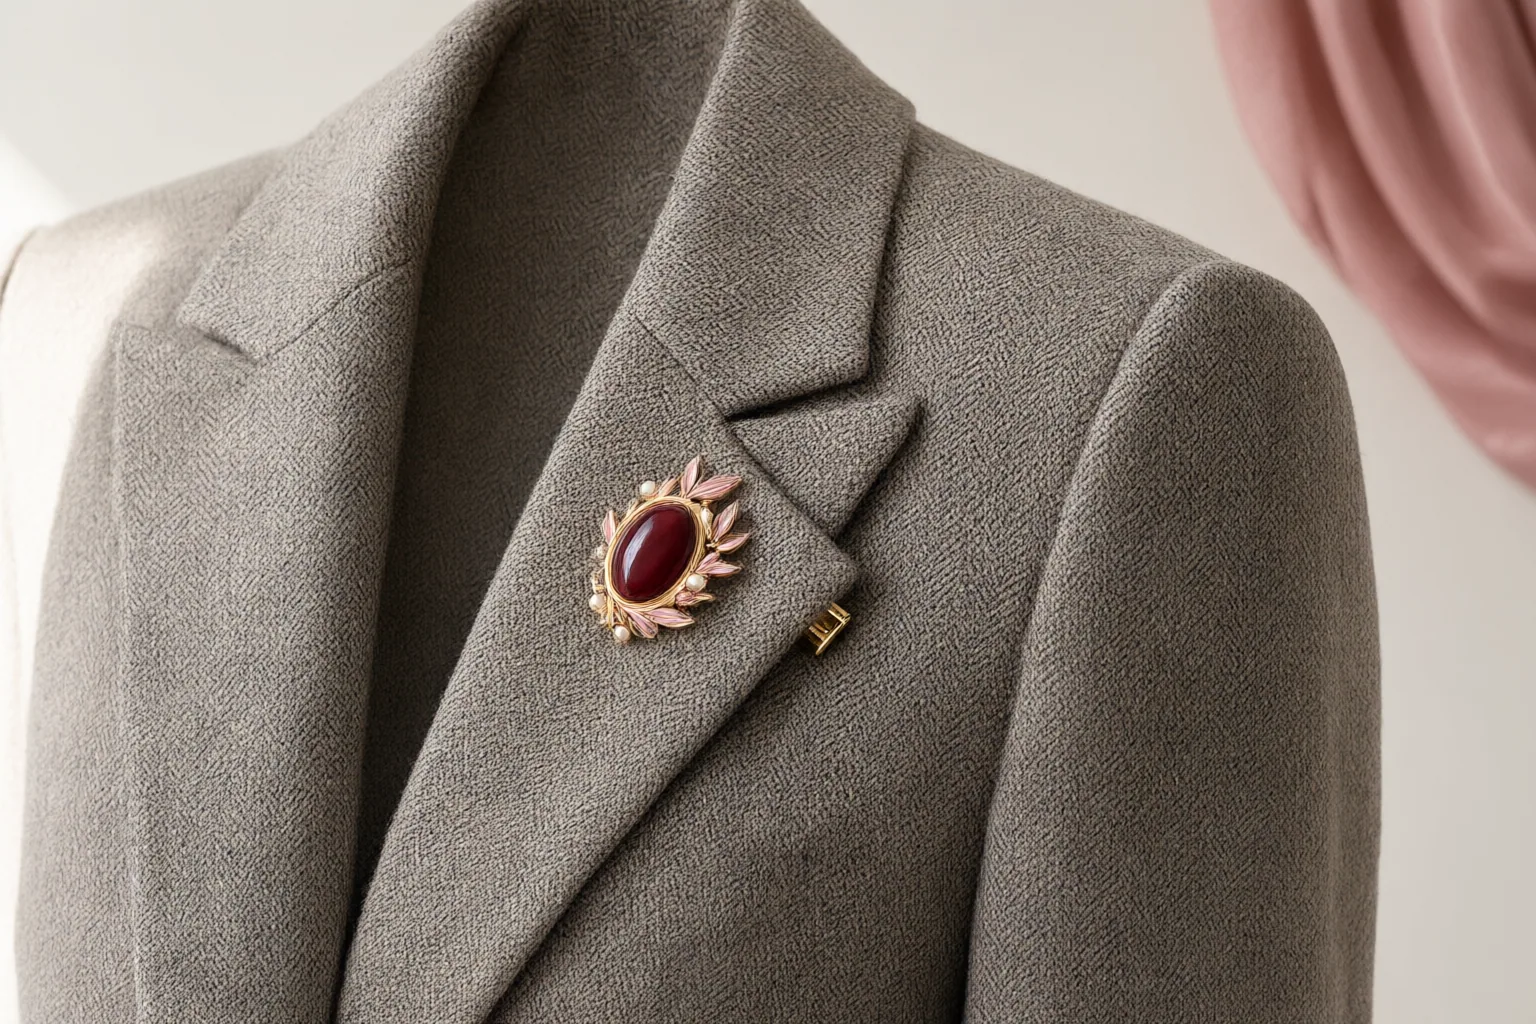
Position a brooch where the garment has enough structure to carry its weight, then check both visual balance and freedom of movement. Lapels, seams, facings, collars, supported plackets, and doubled layers are generally safer starting points than thin fabric or delicate open knits, but no placement guarantees freedom from holes or damage.
Start With Support, Weight, and Visual Balance
Match the brooch’s weight to the strength of the garment before deciding where it looks best. A heavy piece placed on unsupported fabric can sag, pucker, or enlarge a pinhole, while a seam, facing, substantial lapel, or doubled layer can spread the load more effectively.
Left-lapel placement is traditional, but it is not mandatory. Either side can work when the choice suits the neckline, the brooch’s orientation, and the overall visual balance. Also consider what will touch the piece during wear. A shoulder-bag strap, seat belt, or moving arm can rub against a seemingly well-positioned brooch, make it tilt, or increase strain on the fabric.
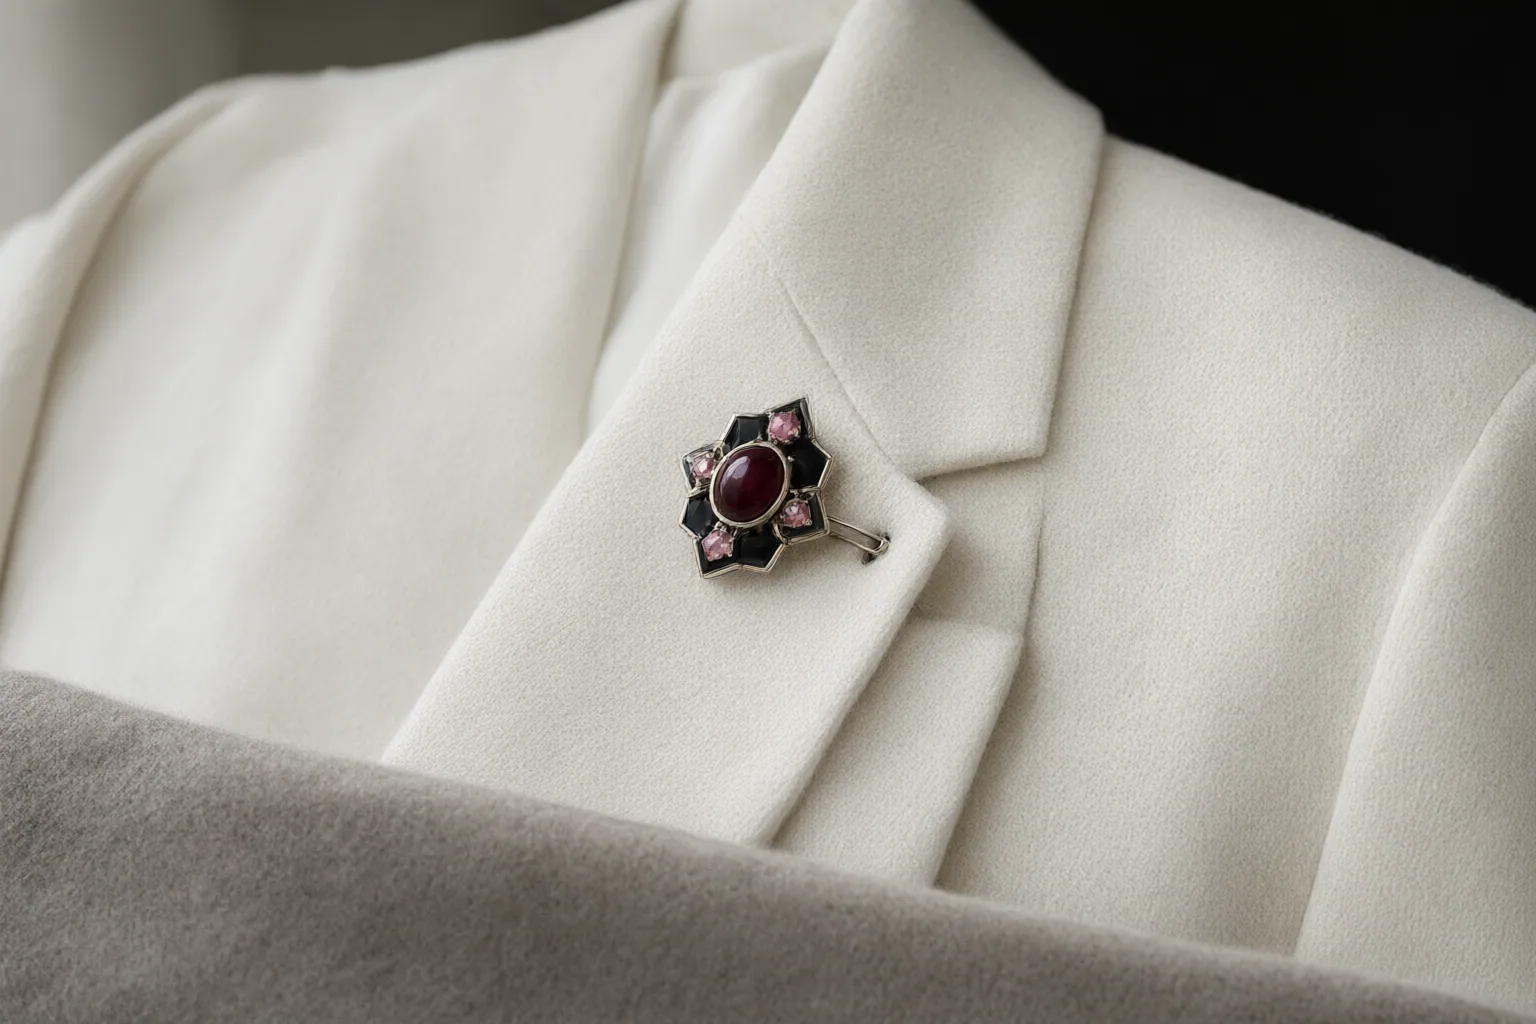
Where to Position a Brooch on Jackets, Shirts, and Knitwear
On a structured jacket, begin with a substantial lapel or reinforced upper-chest area. The brooch should lie flat and remain away from bag straps, seat belts, and the path of normal arm movement.
For a shirt, consider the collar, a supported placket, or a reinforced upper-chest area. Lightweight shirting may pucker beneath a large or heavy brooch, so move the piece to a stronger area or choose a lighter design if the fabric will not remain smooth.
Knitwear requires a different approach. Guide the pin between yarn loops instead of forcing it through a yarn strand. Open, fine, or delicate knits are particularly vulnerable to snags, pulled fibers, and stretched loops. If the knit cannot support the brooch without visible tension, avoid that position or use another attachment method. Across all three garment types, structural support should take priority over a conventionally fashionable location.
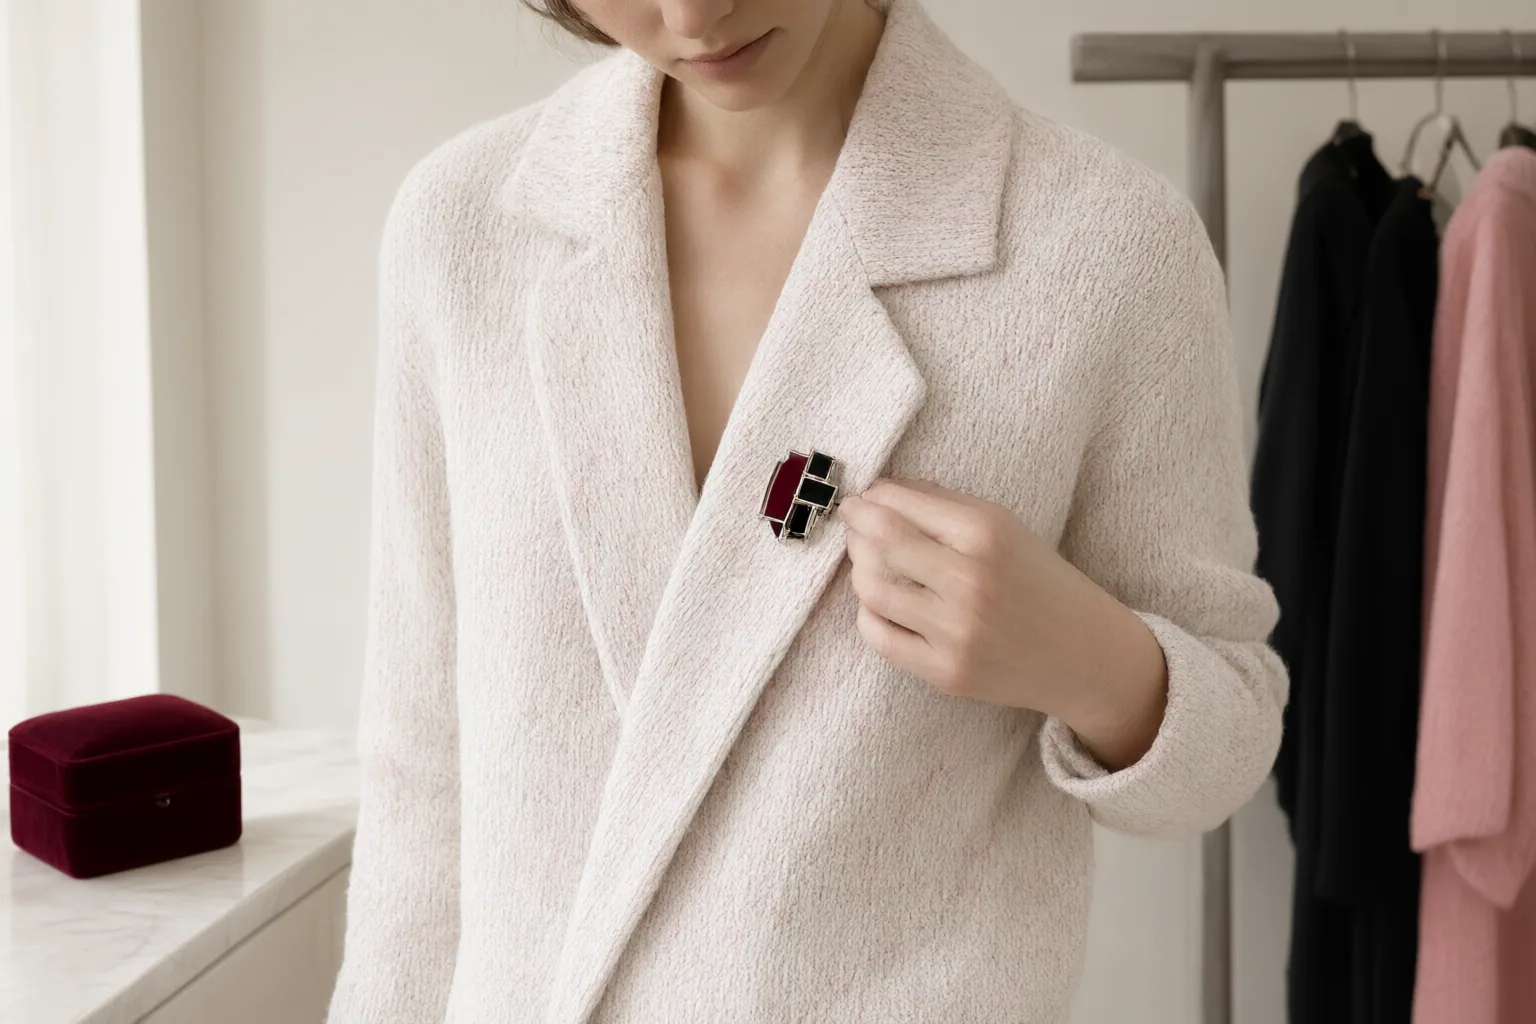
Fasten and Test the Brooch Without Unnecessary Strain
Inspect the pin and clasp before fastening. Rough edges, a bent pin, or an insecure closure can catch threads or open during wear. Check the intended garment area as well, looking for loose threads, weak fibers, worn patches, or existing damage.
Lay the garment flat without stretching it, then insert the pin gently. Stop if you feel resistance or notice a caught thread, puckering, sagging, or twisting. Those signs indicate that you should select a lighter brooch, move to a more supported position, or change the fastening method.
A soft backing patch can distribute weight across a wider area and reduce pulling, but a piercing pin can still create a hole. If any pinhole is unacceptable, consider a compatible magnetic or clip attachment. These alternatives have tradeoffs: magnets can slide or pinch, while clips can compress fabric, leave pressure marks, or catch delicate threads.
After fastening, put on the garment and test ordinary shoulder and arm movement. Check again for tilting, rubbing, pulling, and distortion rather than judging the placement only while standing still.
Conclusion
The practical rule is simple: choose a supported location, match the brooch’s weight to the fabric, and fasten it without force. Because no method guarantees against damage, watch the garment while moving. At the first sign of tilting, rubbing, snagging, pulling, sagging, or distortion, remove or reposition the brooch, select a lighter design, or switch to a suitable non-piercing attachment.
Disclosures and limitations
- This article was created with AI assistance from the supplied commercial accessory and jewelry-publisher guidance. The recommendations are practical guidance, not guarantees against fabric damage.
- No products, prices, inventory claims, affiliate offers, or personal testing are included.
Related reading
Sources
- How to Wear a Brooch Without Damaging Your Outfit — Yuhive
- How to Wear a Brooch (2026): 12 Modern Styling Ideas | Stars and Vogue — StarsandVogue
- How to Wear a Brooch Without Damaging Clothes — HEIDI DAUS®
- How to Wear a Brooch Without Damaging Delicate Fabric — Yuhive
- Which Side Should You Wear a Brooch? Placement Guide — Yuhive